So how do you get it installed so you can start working on it? Easy!
On Plesk, go to your domain listing where you want WordPress installed. It will look like this:

There are two places you can start the install from right now. In the main box, on the top right, it has an 'Install' button right next to the Wordpress name and logo. This button goes away once WordPress has been installed, but if you want to manage your existing WordPress installs, or add another, there's the second button in the top right box, with the same WordPress name and logo.
This is known as the WordPress Toolkit, and it makes everything WordPress related stupid easy.
Click on that button, and you'll be brought to a page with your current installations, which should be blank if you're reading this!
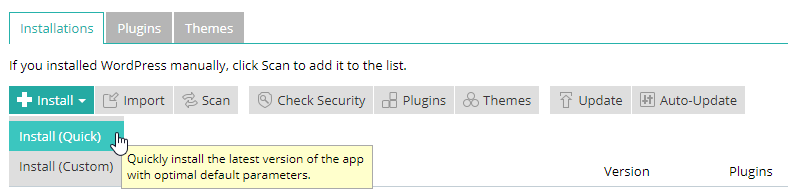
If you click on the 'install' button, it will give you two options. For most people, the quick install (pictured below) is best, as it installs everything that comes with the default setup, and emails you your login information.
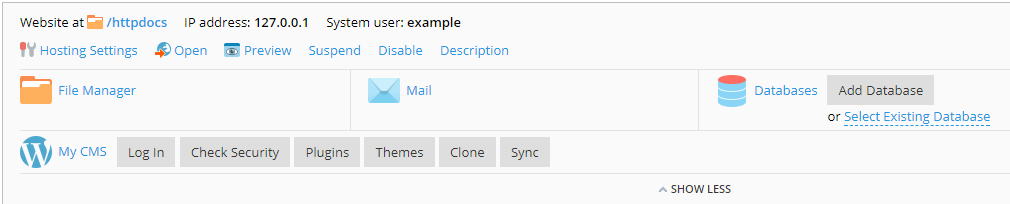
Once the WordPress instance is done installing, you can log in through the Plesk panel by going back to your domain list (the top image in this article) and you will see a new button for your WordPress to log in.
And that's all! Hopefully this walkthrough has been easy to follow, and has gotten you where you need to be. HOWEVER, if you are still having any problems, feel free to email me at [email protected], Tweet us @FurHost or @AtoroDesu, or on Discord at Atoro#1246. I'm always glad to help out!
